SessionStack
Enhance customer experience throughout the support journey
Use interactive co-browsing, session replay, reporting and analytics to increase customer satisfaction.
Resolve your customers' requests remotely much faster. Improve customer support and increase customer satisfaction.
{primary} Stackpile makes it easy to install SessionStack on your website and start sending data to all your integrations with a simple unified API.
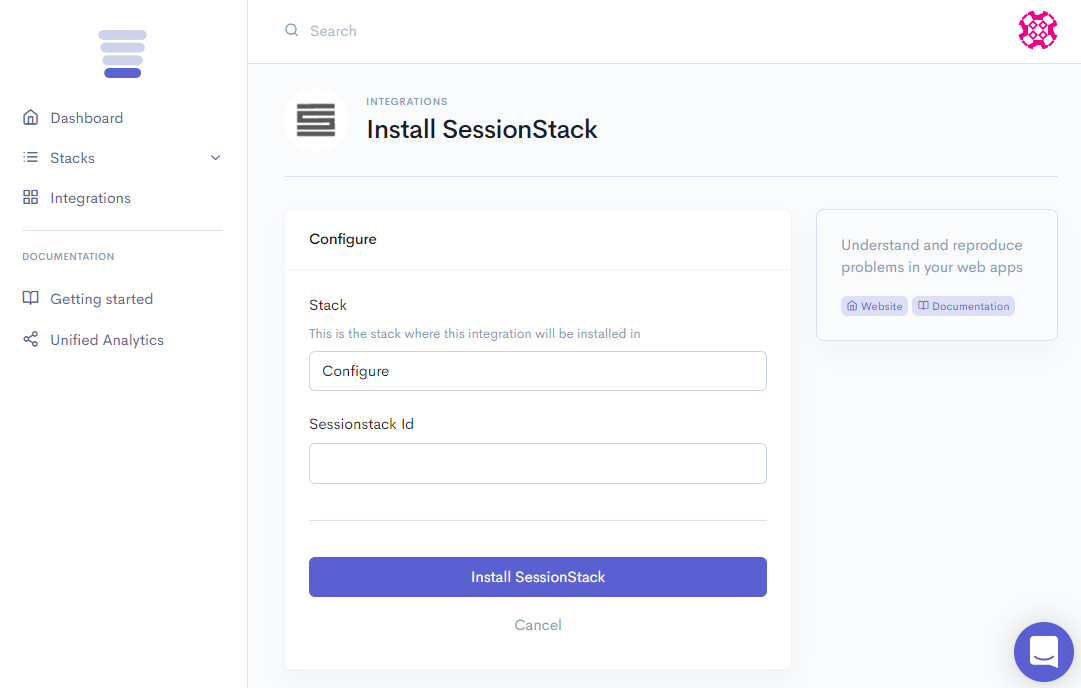
Install SessionStack
Getting Started
{primary} Important
If you already have the SessionStack snippet installed on your site, please remove it.
Once the Stackpile snippet has been installed on your website, add SessionStack to your stack on your Stackpile Dashboard, add your Sessionstack ID (see Settings on how to obtain this) and click on Install SessionStack.
The Stackpile - SessionStack integration will then start real-time error tracking in your application, capturing user actions allowing you to reproduce bugs that your users encountered.
Settings
Sessionstack ID
You can find your Sessionstack ID on your SessionStack Dashboard. Navigate to your project and go to the Installation view. Under My App > Installation you will find your recording snippet.
Your Sessionstack ID is the 32 character hexadecimal number in the SessionStack line just before the closing </script> tag of your recording snippet,
e.g. }("SessionStack","0aac858445ef3f2bb84cc7e60d4e7c64");.
<!-- Begin SessionStack code -->
<script type="text/javascript">
!function(a,b){var c=window;c.SessionStackKey=a,c[a]=c[a]||{t:b,
q:[]};for(var d=["start","stop","identify","getSessionId","log"],e=0;e<d.length;e++)!function(b){
c[a][b]=c[a][b]||function(){c[a].q.push([b].concat([].slice.call(arguments,0)));
}}(d[e]);var f=document.createElement("script");f.async=1,f.src="https://cdn.sessionstack.com/sessionstack.js";
var g=document.getElementsByTagName("script")[0];g.parentNode.insertBefore(f,g);
}("SessionStack","0aac858445ef3f2bb84cc7e60d4e7c64");
</script>
<!-- End SessionStack Code -->